5 Tips for Faster Photo Culling
5 Tips for Faster Photo Culling
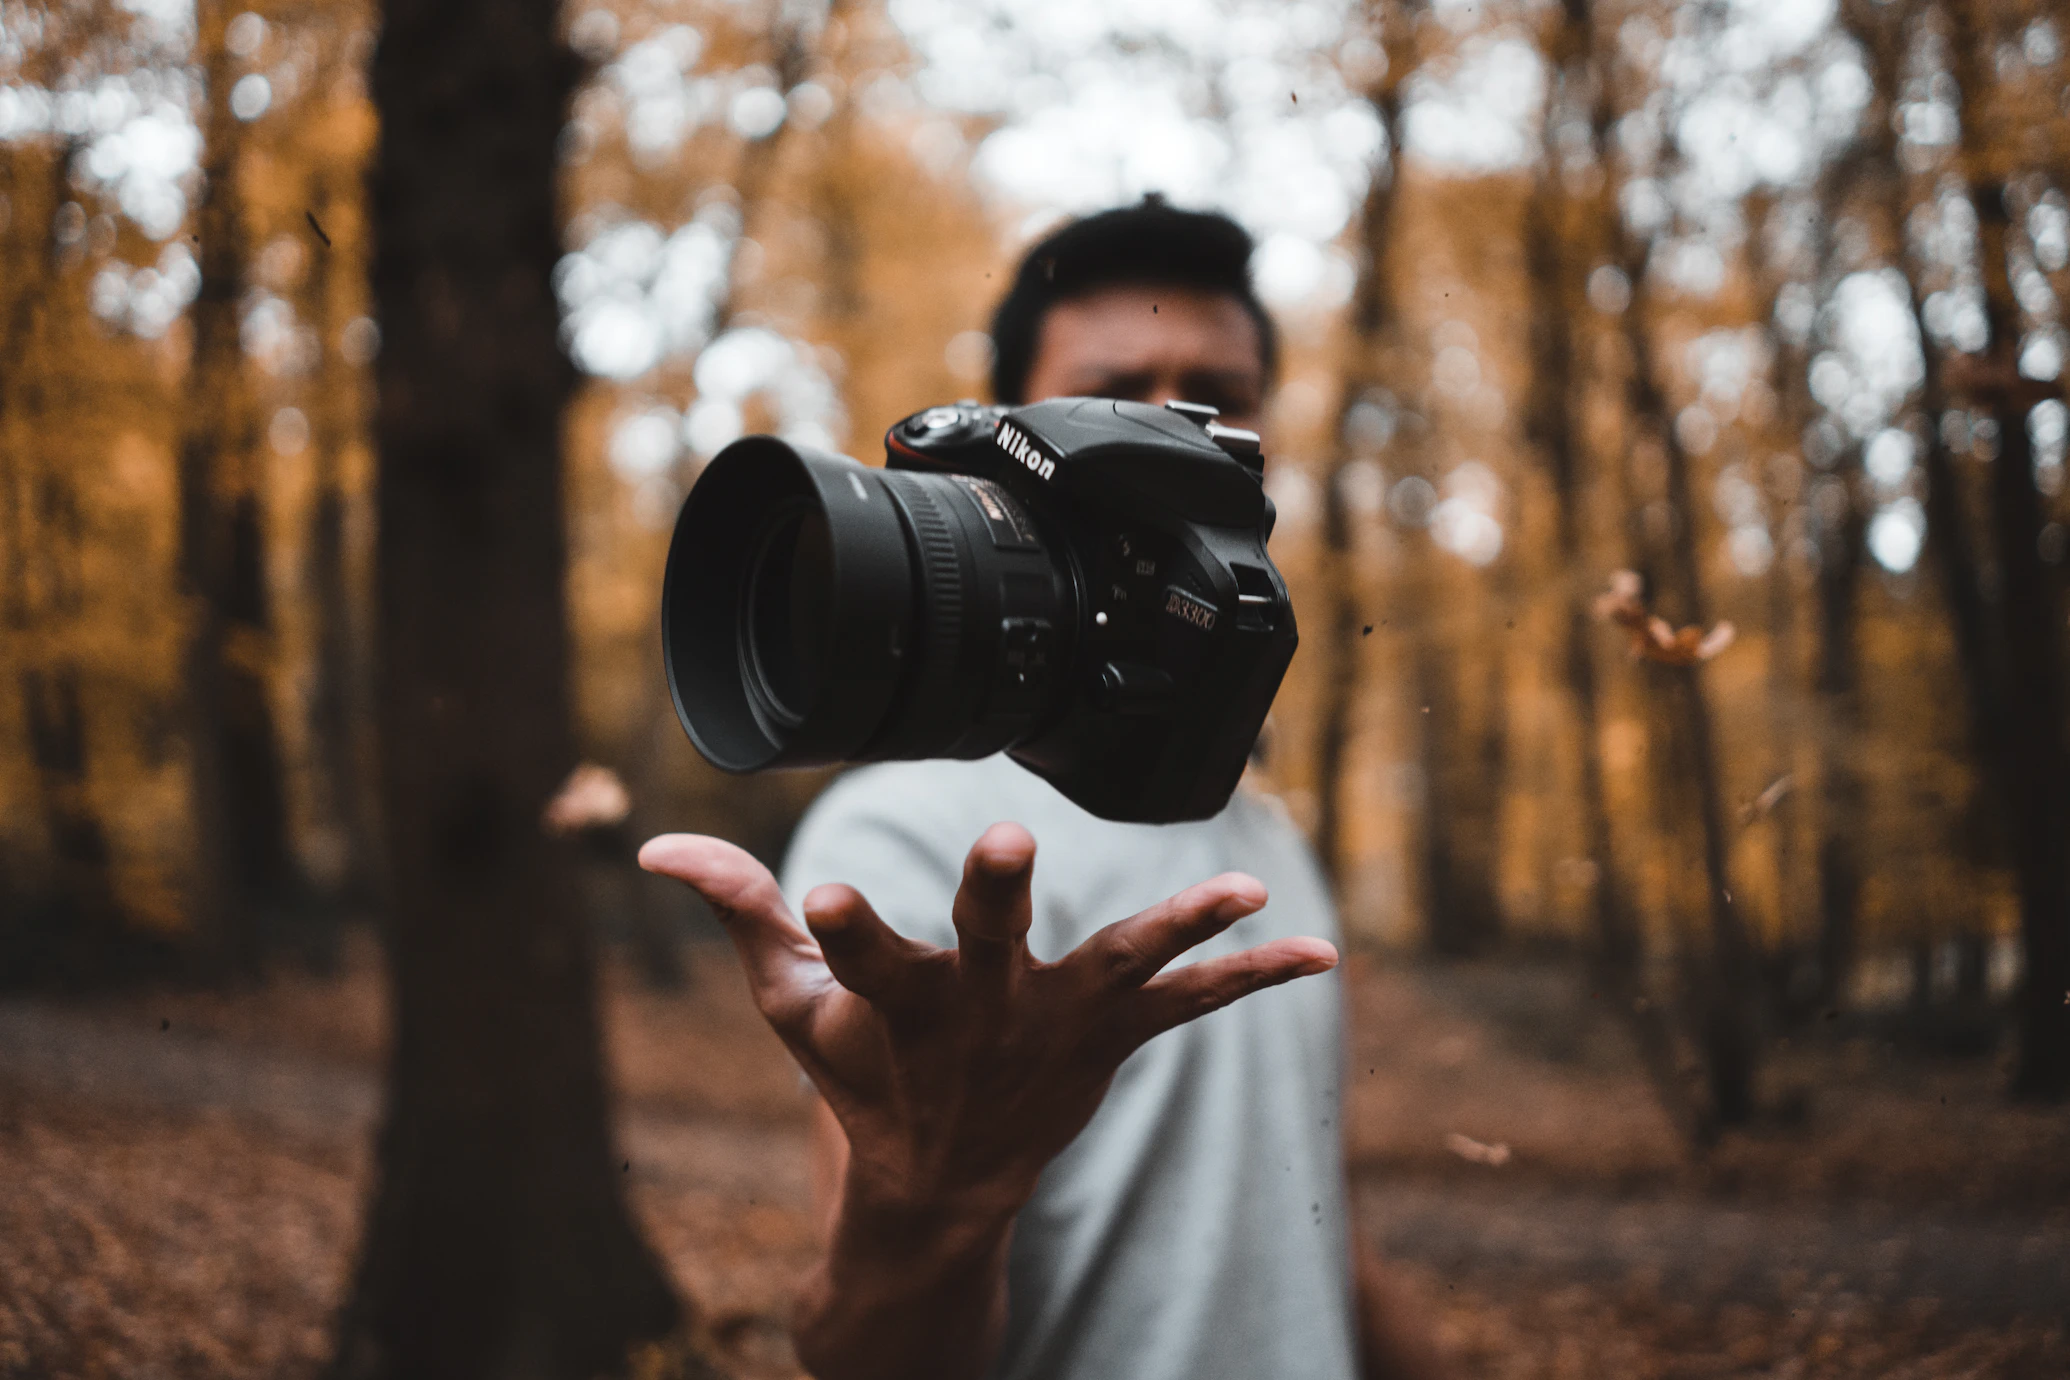
Culling photos can be one of the most tedious parts of a photographer's workflow. Sitting down with hundreds, or even thousands, of images after a wedding or event can feel overwhelming. However, returning photos to your clients quickly is a huge part of delivering a great client experience.
Here are 5 tips to speed up your photo selection process.
1. Do it Backwards
This sounds counterintuitive, but start culling from the last photo taken in a sequence. Usually, the last photo is the one where everyone finally smiled, or where the lighting and composition were fully dialed in. By starting at the end, you'll see the "winner" first and can easily skip the test shots leading up to it.
2. Trust Your Gut (The 1-Second Rule)
If you look at an image for more than a second trying to decide if it's good, it's probably not a "wow" shot. Trust your immediate instinct. Your client will also likely make snap judgments, so go with the images that instantly jump out at you.
3. Use the Rating System Effectively
Don't use 1-5 stars. It's too confusing. Instead, use a simple binary system:
- Flagged (or 1 Star): Keep.
- Unflagged (or 0 Stars): Reject.
If an image needs heavy retouching, you might give it a different color label, but for basic culling, keep it to yes or no.
4. Cull in a Fast Software
Don't cull in Lightroom's Develop module—it takes too long to render previews. Use Lightroom's Library module (with 1:1 previews rendered beforehand), or use dedicated culling software like Photo Mechanic to fly through raw files.
5. Take Breaks
Eye fatigue is real. If you've been staring at the screen for two hours, all the photos will start to look the same, and your judgment will slip. Take a 10-minute break every hour to rest your eyes and reset your brain.
By implementing these strategies, you can significantly reduce the amount of time you spend sorting images, giving you more time back to shoot, edit, or simply relax!